ALPHA FLOWPreparing your service experience
Chimney Cap Installation technician and professional work process in Dallas-Fort Worth
Planning & installation guide8 min read

Alpha Flow professional field guide

Chimney Cap Installation
Process & Quality Guide

Properly sized chimney cap installation to help limit rain, leaves, animals and wind-driven debris at the flue opening. This field guide explains how a careful chimney cap installation project should be planned, performed and verified, including the details a property owner can use to evaluate quality without becoming a technician.

ChimneyInstallationWork ProcessQuality Checklist
Start with the complete system

Professional chimney cap installation
is a sequence, not a shortcut.

A missing, damaged or undersized cap can leave the chimney exposed and may contribute to blockages or moisture damage. The correct response begins with context and access, not with a tool selected before the technician sees the property.

We measure the termination, account for flue type and clearance needs, then secure a compatible cap without improvised fastening. That method is most useful when the homeowner can see how it connects to flue termination, crown and top-of-chimney weather protection, the original concern and the documented result.

The chimney gains durable top-side protection while preserving the opening needed for proper exhaust flow. A good guide cannot predict every field condition, but it can show the decision points that separate thoughtful work from a generic sales package.

The professional workflow

Six stages of a controlled
chimney cap installation project.

Actual access and scope vary by property. The sequence below shows the professional decisions that should remain visible even when the equipment, materials or project duration change.

01
Professional stage 1

Start with the symptom and history

A professional chimney cap installation visit begins with what changed, when it appears and what work has already been attempted. That context helps the technician distinguish a recurring system issue from a one-time condition before tools are selected.

Quality checkpoint

The technician can explain why chimney cap installation is the logical starting point and what would fall outside that visit.

02
Professional stage 2

Map access and define the work boundary

The technician reviews the firebox, accessible venting path, roofline and exterior masonry, then identifies the surfaces and components that can be reached without destructive access. The working scope centers on flue termination, crown and top-of-chimney weather protection; concealed or unrelated components should be named as limitations rather than quietly assumed.

Quality checkpoint

You know which areas are included, which are not accessible and what could require a separate decision.

03
Professional stage 3

Protect the property before work begins

Before material is disturbed, Alpha Flow prepares the hearth, nearby flooring, furnishings and any roof access area. Collection, containment and access equipment are positioned first so the service method does not trade a system problem for dust, debris or damage in the occupied space.

Quality checkpoint

Protection is visible and appropriate for the property before accurate field measurement begins.

04
Professional stage 4

Perform the chimney cap installation method

We measure the termination, account for flue type and clearance needs, then secure a compatible cap without improvised fastening. The objective is to plan fit, route, material compatibility and future service access before assembly. Tools and materials are adjusted to the accessible construction and observed condition rather than forcing one method onto every property.

Quality checkpoint

Accurate field measurement, Compatible cap selection, Secure weather-resistant mounting remain connected to the agreed service boundary.

05
Professional stage 5

Verify the accessible result

The technician reviews accessible interior and exterior chimney components after the work. The result should be evaluated against the starting condition, not against an unrealistic promise about hidden sections that could not be seen or reached.

Quality checkpoint

The chimney gains durable top-side protection while preserving the opening needed for proper exhaust flow. The team can show what supports that conclusion.

06
Professional stage 6

Explain evidence and practical next steps

The visit concludes with connection details, final positioning and completion photos. A current priority, a routine maintenance note and an optional improvement should be presented as different decisions so the homeowner is never pressured by vague technical language.

Quality checkpoint

You leave with a clear record of the work completed and understand any separate recommendation before approving it.

The work in context

People, tools and
visible proof.

Photos are most useful when they explain a condition or completed area, not when they are shown without context.

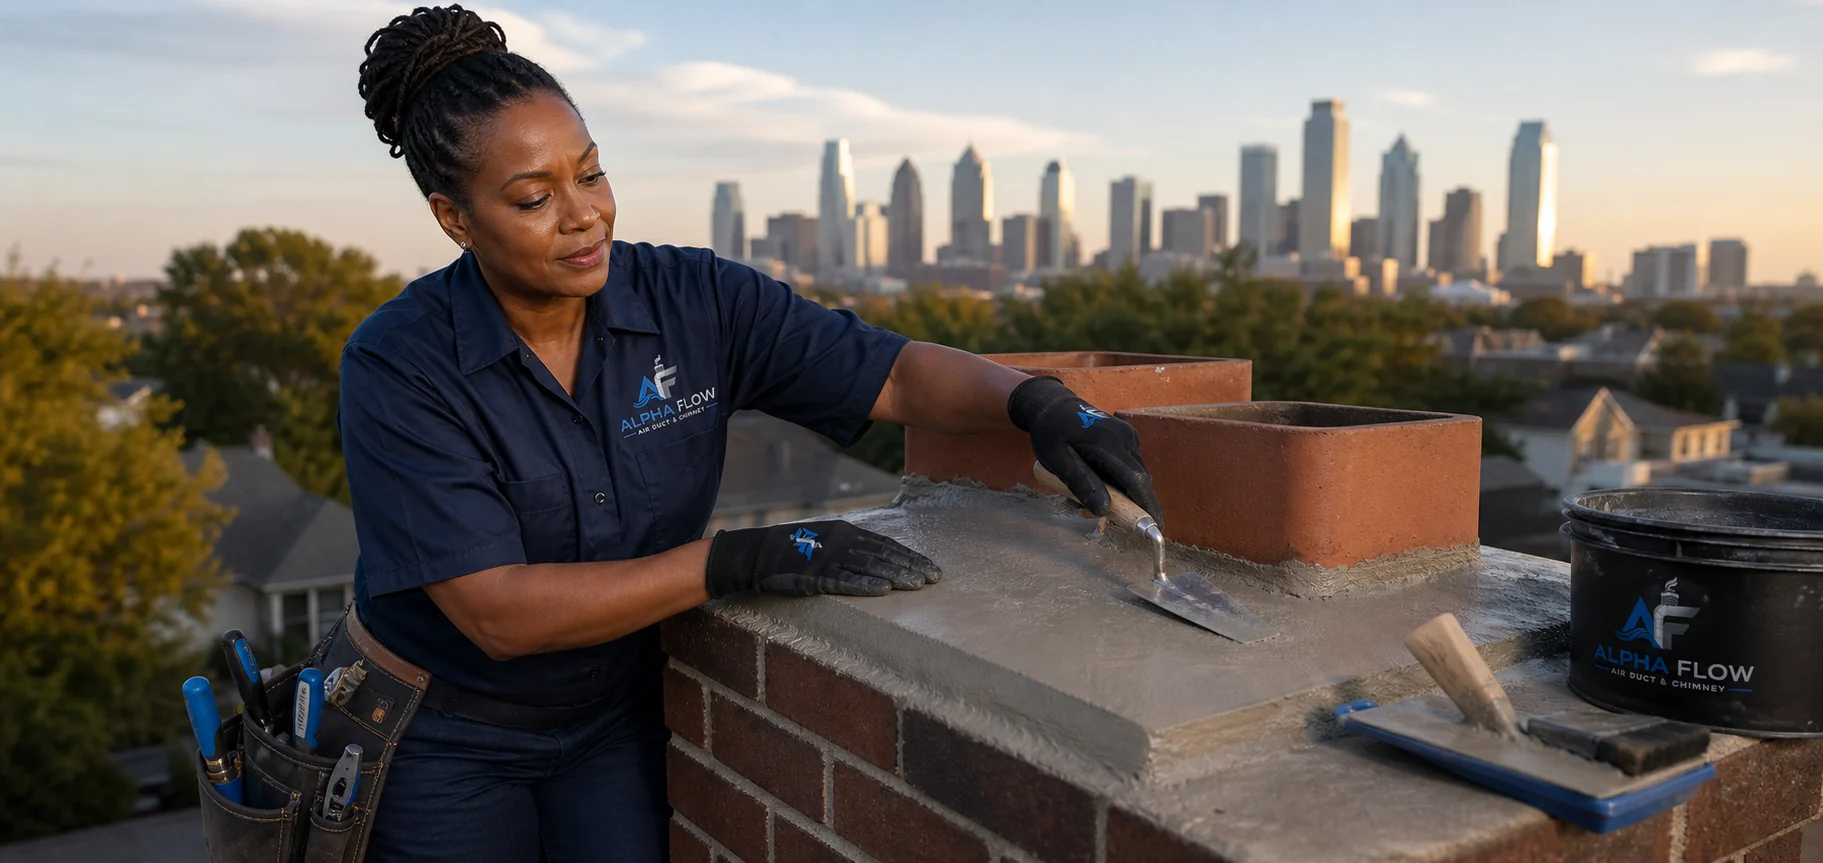
Chimney Cap Installation field view 1: Alpha Flow technician, equipment and professional chimney workmanship
01
Assigned technicianA recognizable professional connected to the visit.
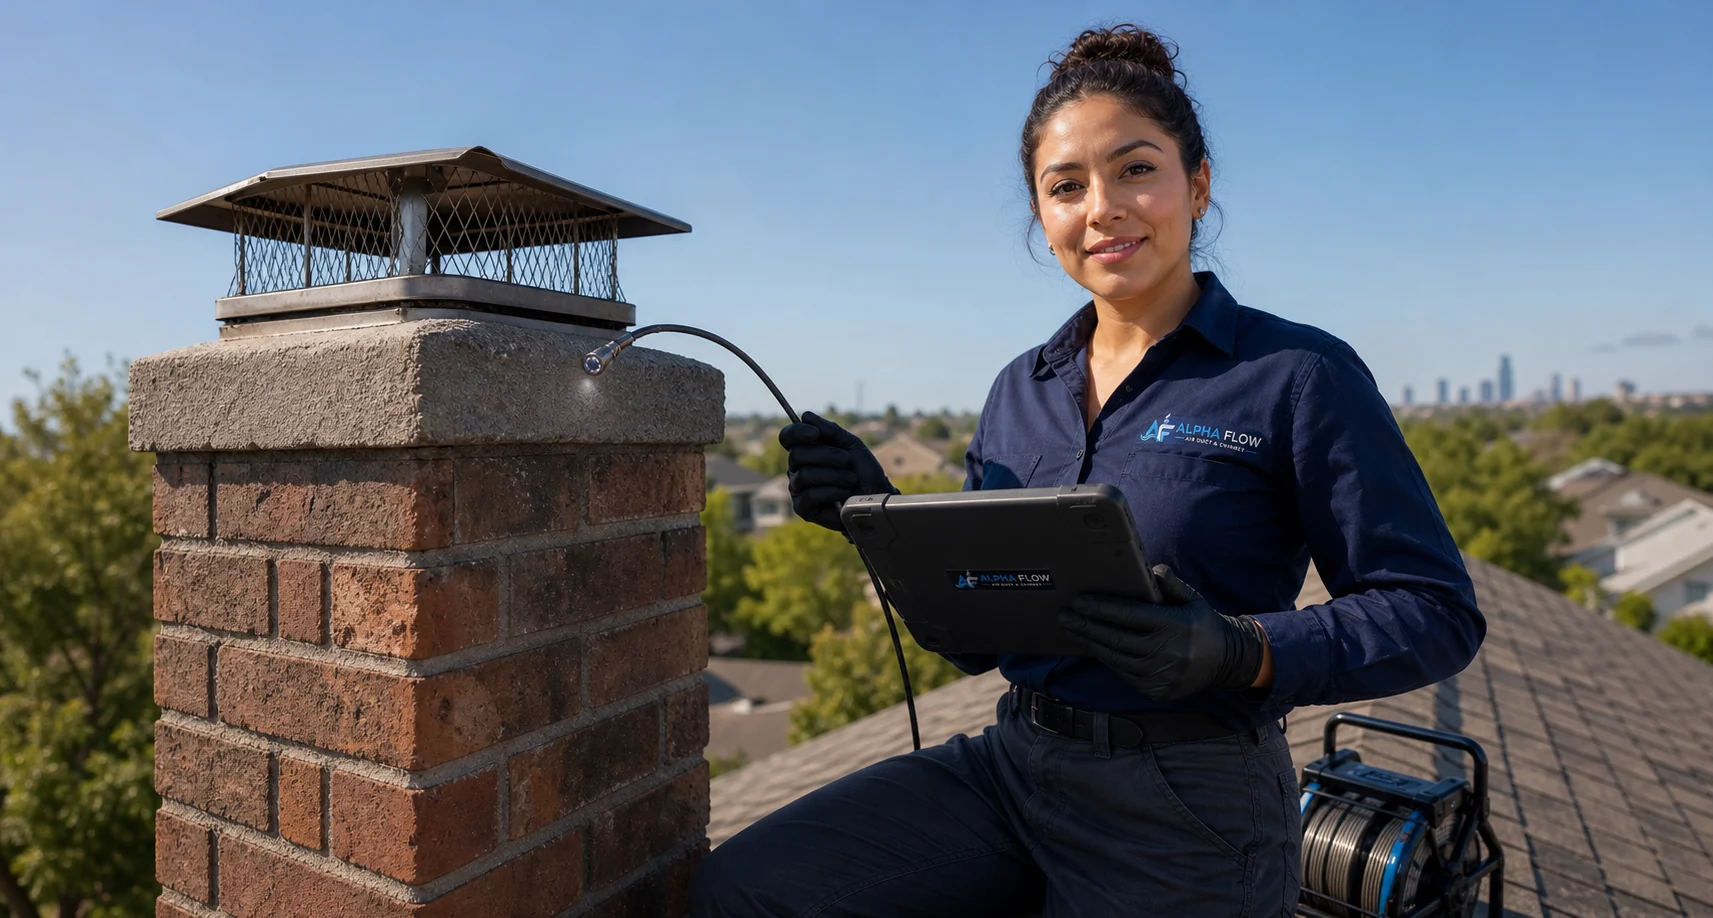
Chimney Cap Installation field view 2: Alpha Flow technician, equipment and professional chimney workmanship
02
System-appropriate toolsAccurate field measurement
Chimney Cap Installation field view 3: Alpha Flow technician, equipment and professional chimney workmanship
03
Documented workmanshipCompatible cap selection
Homeowner quality checklist

Five signs the work
is being handled professionally.

Use these checkpoints before, during and after the appointment. They keep the conversation centered on evidence and the agreed service boundary.

Explore Chimney Cap Installation
01

The chimney and fireplace technician explains access and scope before beginning chimney cap installation.

02

Accurate field measurement is visible in the setup rather than mentioned only after the work.

03

The method is appropriate for flue termination, crown and top-of-chimney weather protection and changes when material or access conditions require it.

04

Photos or a direct walkthrough connect recommendations to accessible interior and exterior chimney components.

05

Anything outside the original scope remains a separate, clearly explained choice.

Before the appointment

Prepare the information.
Leave the system to the technician.

You do not need special tools or a technical diagnosis. Ordinary access, a short history and safe property instructions are more valuable.

01

Write down when the chimney cap installation concern started and whether weather, appliance use, renovation or occupancy changes affect it.

02

Clear ordinary personal items from the primary access point to flue termination, crown and top-of-chimney weather protection; do not dismantle or climb to reach the system yourself.

03

Secure pets and share parking, gate, roof-access or building-management instructions before the appointment.

04

Save any useful photos, prior invoices or inspection notes so the technician can compare the history with the current condition.

Do not create access by taking a risk.

Do not climb onto a roof, reach into a moving appliance, open energized HVAC equipment or use a fireplace when you suspect an immediate fire, gas, carbon-monoxide or electrical hazard. Leave the area when appropriate and contact emergency services or the relevant utility.

What to watch for

Common shortcuts
that weaken the result.

Fast work is not automatically poor work. The warning sign is a step being skipped without a clear reason or the homeowner being asked to approve work without useful evidence.

01

Skipping the condition review

Starting chimney cap installation immediately can hide route, material or access limitations that should shape the method.

02

One tool for every system

Construction varies. A method that is effective on one part of flue termination, crown and top-of-chimney weather protection can be ineffective or damaging on another.

03

No containment plan

Professional work controls dust, soot, lint, residue or repair material before it is disturbed near occupied areas.

04

A recommendation without evidence

Choosing the fastest route or fitting without accounting for airflow, clearances and future access.

Questions worth asking

A professional should be able
to answer these clearly.

  1. 01

    Which parts of flue termination, crown and top-of-chimney weather protection are included and accessible today?

  2. 02

    What condition made you choose this chimney cap installation method?

  3. 03

    How will the hearth, nearby flooring, furnishings and any roof access area be protected during the work?

  4. 04

    What photos or measurements will show the starting and completed condition?

  5. 05

    If you discover another issue, will that remain a separate estimate and decision?

Professional guide FAQ

Chimney Cap Installation
questions, answered.

Use these answers as a planning reference. The address, construction, access and observed condition still determine the final scope.

Still have a question? Call 469-890-1608
What should happen before professional chimney cap installation begins?+

The technician should first review the symptom, system history, access and the boundary of the visit. For chimney cap installation, the primary focus is flue termination, crown and top-of-chimney weather protection. Nearby surfaces should be protected and any inaccessible section should be identified before work starts.

What does a quality chimney cap installation process include?+

The process should include accurate field measurement, compatible cap selection, secure weather-resistant mounting, finished installation photos. The method must respond to the construction and accessible condition, and the final explanation should connect photos or direct observations to the work completed.

How can I prepare for a chimney cap installation appointment?+

Write down when the chimney cap installation concern started and whether weather, appliance use, renovation or occupancy changes affect it. Clear ordinary personal items from the primary access point to flue termination, crown and top-of-chimney weather protection; do not dismantle or climb to reach the system yourself. Secure pets and share parking, gate, roof-access or building-management instructions before the appointment. Save any useful photos, prior invoices or inspection notes so the technician can compare the history with the current condition. You should never climb, open energized equipment or dismantle the system to prepare for a routine visit.

How long should chimney cap installation take?+

Timing depends on access, system size, route length, buildup, material condition and whether the property is residential, multifamily or commercial. A professional team should explain the expected service window after confirming the address and scope rather than promising one universal duration.

What documentation should I receive after chimney cap installation?+

When access and site conditions allow, the closeout should show the relevant starting condition, accessible completed work and any limitation or separate recommendation. The chimney gains durable top-side protection while preserving the opening needed for proper exhaust flow.

When should additional work be a separate decision?+

A repair, treatment, replacement, destructive access or newly discovered system area that was not included in the original boundary should be explained and approved separately. Evidence should support the recommendation before a homeowner is asked to expand the scope.

Alpha Flow professional ready to discuss chimney cap installation
Turn the guide into a clear next step

Talk through the property.
Then choose the right visit.

Share what you are seeing, the ZIP code and the service you are considering. Alpha Flow can help confirm whether chimney cap installation is the sensible starting point.

Call 469-890-1608
Direct request to our team

Ask about Chimney Cap Installation

Complete the short form and send your request directly to the Alpha Flow scheduling team.

or
Call 469-890-1608